Thank you so much for being here! If there’s one frozen dessert I reach for time and time again, it’s this dreamy, creamy, melt-in-your-mouth No-Churn Vanilla Bean Dream Ice Cream. It’s elegant in its simplicity—no eggs, no machine, just real vanilla and pure magic.
This one’s become a staple in my kitchen. Whether I’m topping warm peach cobbler or sneaking spoonfuls straight from the container (guilty!), it never fails to impress. Want more easy, crowd-pleasing desserts? Be sure to subscribe to my email list so you never miss a sweet new recipe!
What Is No-Churn Vanilla Bean Dream Ice Cream?
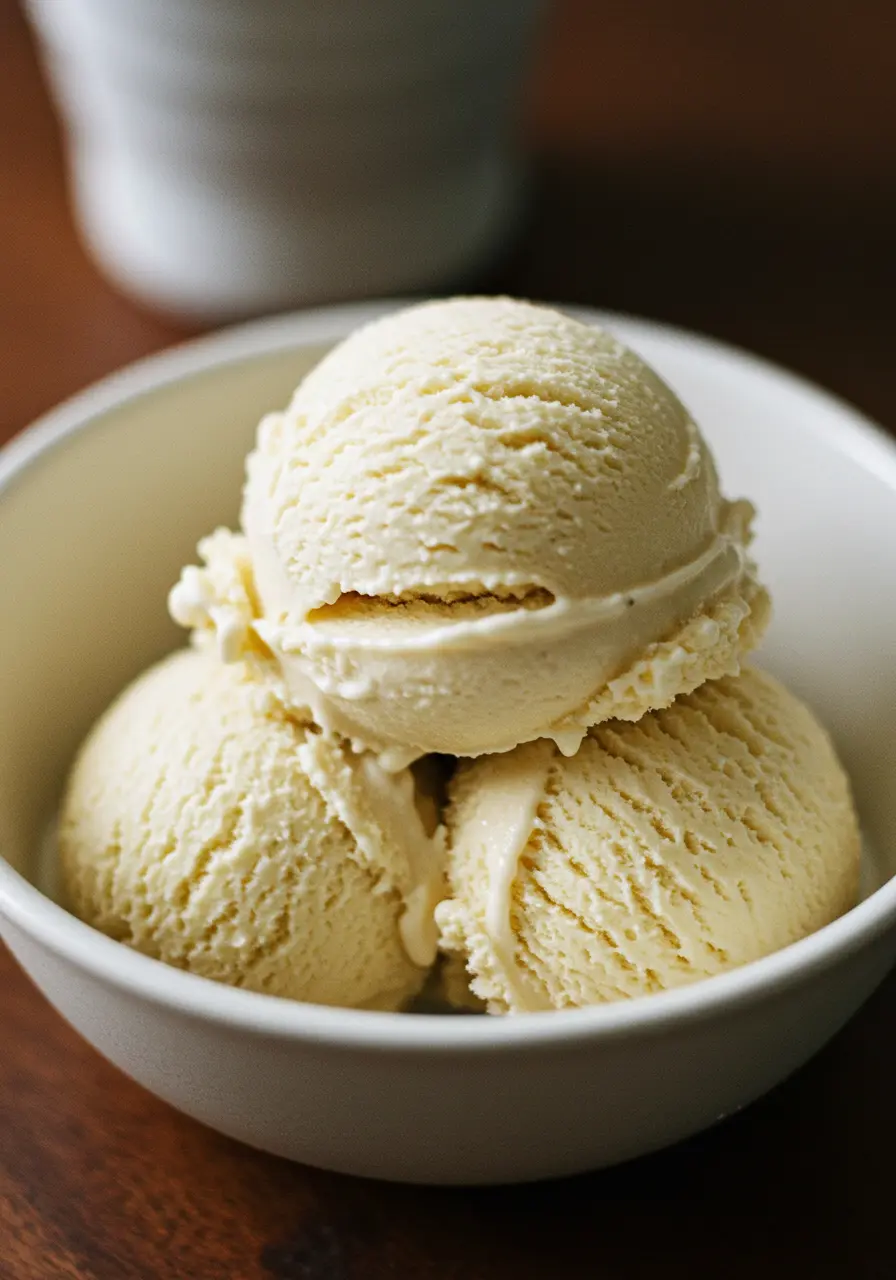
This is homemade ice cream in its easiest form: no machine, no custard, and no stress. The base combines cold whipped cream with sweetened condensed milk and real vanilla bean paste (or extract), resulting in a lush, scoopable dessert with that classic, nostalgic vanilla flavor—only better.
Think of it as the vanilla ice cream of your dreams: soft, smooth, and deeply aromatic.
Why You’ll Love This No-Churn Vanilla Ice Cream
- No ice cream maker needed
- Only 3 ingredients
- Infused with real vanilla bean for rich flavor
- Stays scoopable and creamy straight from the freezer
- Perfect on its own or with any dessert
What Does It Taste Like?
Soft and rich with the unmistakable flavor of real vanilla. You’ll taste the creamy sweetness of whipped cream balanced by the slight caramel notes of sweetened condensed milk, all tied together with fragrant vanilla bean specks. This isn’t your standard vanilla—it’s elevated, luxurious, and melt-on-your-tongue good.

Ingredients You’ll Need
- 2 cups heavy whipping cream, cold
- 1 can (14 oz) sweetened condensed milk
- 1 tablespoon vanilla bean paste (or pure vanilla extract + seeds from ½ vanilla pod)
Optional Add-ins:
- Crushed vanilla wafers or shortbread cookies
- Swirls of caramel or fudge
- Toasted coconut flakes
- Fresh berries folded in
Tools You’ll Need
- Large mixing bowl
- Electric mixer or stand mixer
- Silicone spatula
- Loaf pan or freezer-safe container
- Plastic wrap or parchment paper
Ingredient Substitutions & Variations
- Dairy-free version: Use coconut cream (whipped) and sweetened condensed coconut milk.
- Vanilla extract: If you don’t have paste, use 1 tablespoon high-quality vanilla extract.
- Lower sugar: Use a reduced-sugar condensed milk or mix with Greek yogurt for a tangy twist.
- Make it fancy: Add bourbon, lavender, or lemon zest for a gourmet version!
How to Make No-Churn Vanilla Bean Dream Ice Cream
Step 1: Whip the Cream
In a large mixing bowl, whip cold heavy cream until stiff peaks form. It should hold shape but still be fluffy—don’t overbeat.
Step 2: Mix the Base
In another bowl, combine the sweetened condensed milk and vanilla bean paste. Stir until smooth and fragrant.
Step 3: Fold Gently
Gently fold the whipped cream into the vanilla mixture using a spatula. Don’t stir aggressively—you want to keep the mixture light and airy.
Step 4: Pour and Freeze
Transfer the mixture to a loaf pan or freezer-safe container. Smooth the top, cover with plastic wrap or parchment, and freeze for at least 6 hours, or overnight.
What to Serve with Vanilla Bean Dream Ice Cream
- Warm brownies or chocolate cake
- Fresh berries or grilled peaches
- Espresso or cold brew for a DIY affogato
- Fruit cobblers or crisps
- Homemade cones or waffle bowls
Tips for Perfect No-Churn Ice Cream
- Use cold cream: It whips faster and holds better structure.
- Don’t skip the vanilla paste: It adds visual appeal (hello, specks!) and deep flavor.
- Cover tightly: Prevent freezer burn by pressing wrap directly onto the surface.
- Freeze long enough: 6+ hours gives it that ideal scoopable texture.
Storage Instructions
- Store in an airtight container or tightly wrapped loaf pan
- Best enjoyed within 2–3 weeks
- Let sit at room temp for 5–10 minutes before scooping
General Info
- Prep time: 10 minutes
- Freeze time: 6+ hours
- Yield: 1.5 quarts (about 10 servings)
Frequently Asked Questions (FAQ)
Can I use vanilla extract instead of paste?
Yes! Use 1 tablespoon pure vanilla extract. You can also scrape in seeds from a vanilla bean for that signature speckled look.
Can I make this dairy-free?
Absolutely—use chilled whipped coconut cream and sweetened condensed coconut milk. The flavor will be slightly tropical but still delicious!
Why is my ice cream icy or hard?
Make sure it’s tightly covered and not over-mixed. Also, use full-fat cream and sweetened condensed milk for best texture.
Can I add mix-ins?
Yes! Fold in crushed cookies, nuts, swirls, or chocolate chips after combining the base and cream—before freezing.
Conclusion: Why You’ll Keep Coming Back to This Vanilla Dream
This No-Churn Vanilla Bean Dream Ice Cream is proof that sometimes, the simplest things are the most delicious. It’s creamy, customizable, and just plain irresistible. Whether served solo, paired with pie, or layered into a sundae, it’s guaranteed to become a go-to favorite.
Made this ice cream? I’d love to see it! Please leave a comment and rating below, and share a photo on Pinterest or Instagram with #VanillaBeanDream. I’ll be cheering you on from my kitchen!
Nutritional Info (Per ½ cup serving)
- Calories: 250
- Fat: 18g
- Carbs: 20g
- Sugar: 18g
- Protein: 4g
Ready to make the simplest, most satisfying vanilla ice cream ever? Let’s whip it up! 🍨
No-Churn Vanilla Bean Dream Ice Cream
Ingredients
Equipment
Method
- In a large mixing bowl, whip cold heavy cream until stiff peaks form. It should be fluffy and hold shape—do not overbeat.
- In another bowl, stir together the sweetened condensed milk and vanilla bean paste until smooth and aromatic.
- Gently fold the whipped cream into the vanilla mixture using a silicone spatula. Fold gently to maintain a light texture.
- Pour mixture into a loaf pan or freezer-safe container. Smooth the top and cover with plastic wrap or parchment. Freeze at least 6 hours or overnight.